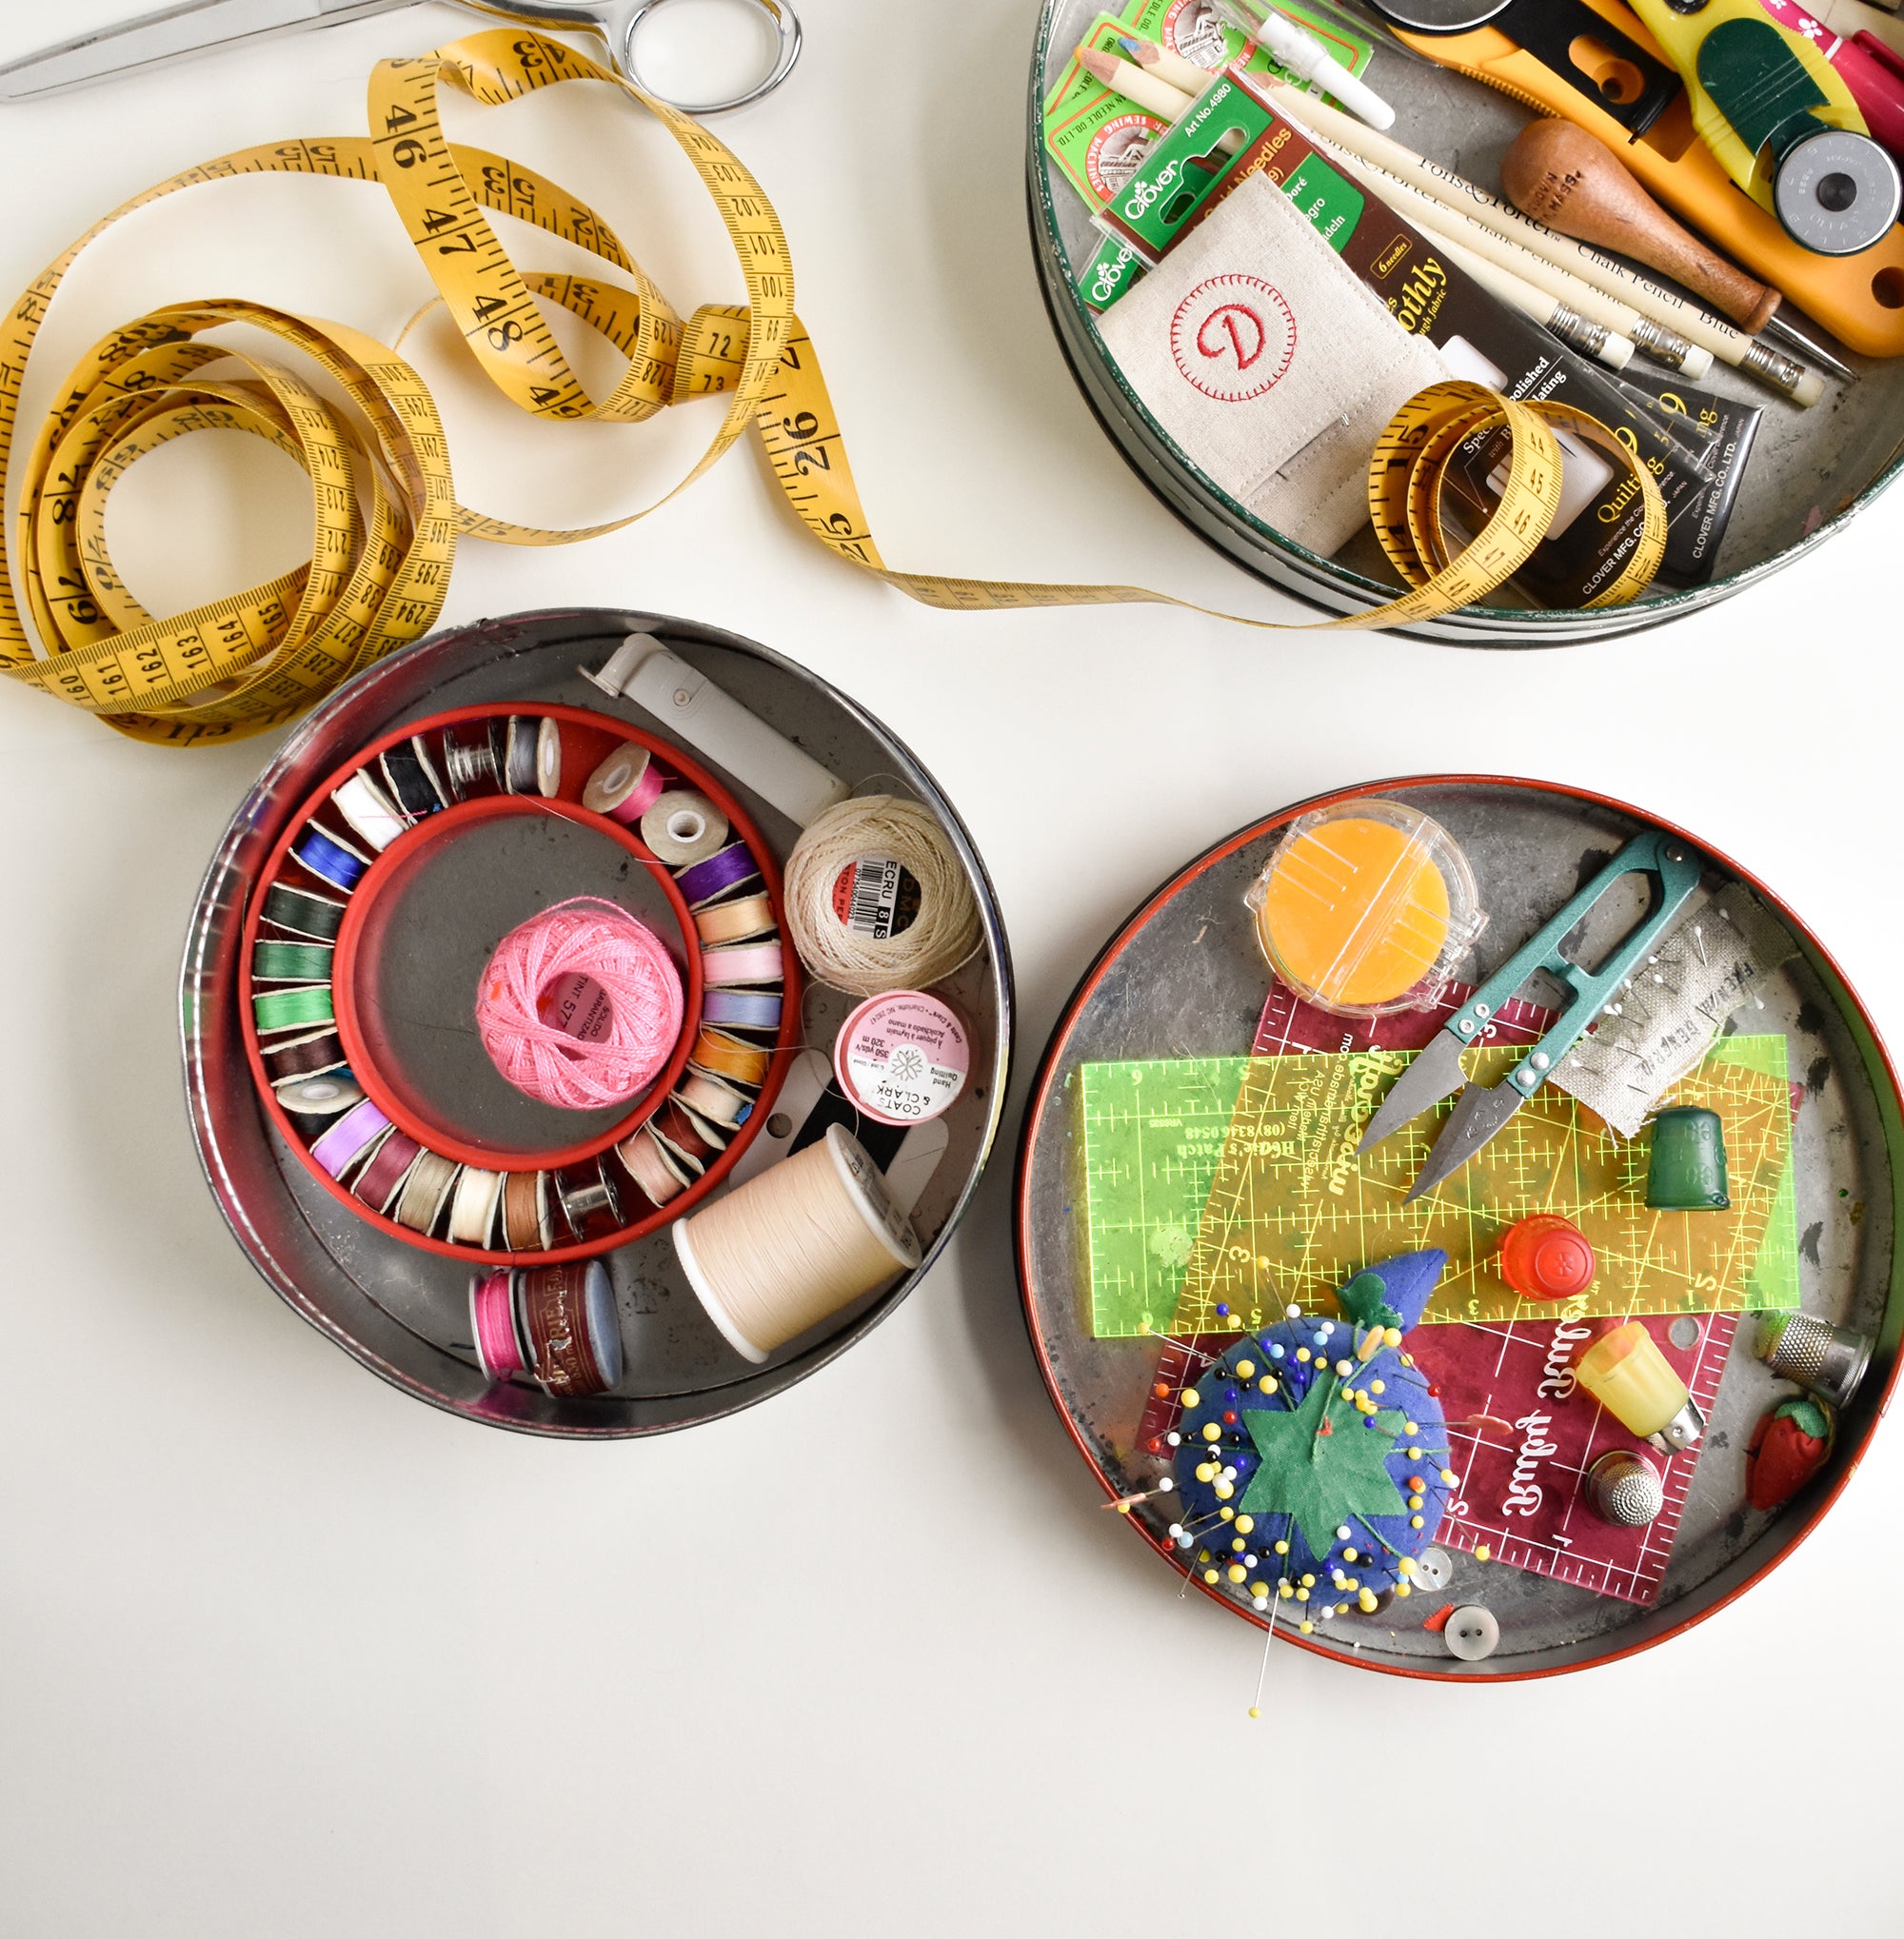
Tools
Here’s a list of tools you’ll need for DSQ quilt patterns. You won’t need all of them for every pattern, and if you already sew or quilt, you’ll have many of these items already. Some are specific to certain techniques such as hand quilting, so check the pattern instructions and read through the techniques before you hit the store. You’ll find more information about some of these items – such as thread – in the other guides.
I recommend buying the best tools you can afford – they will last longer and generally give better results. While many of these tools will make easy work of your labors, it’s good to remember that early quilt makers had only the most basic equipment, and most of these did double duty as household items.
Measuring, Marking, & Cutting
-
Acrylic ruler (a 6" by 24" ruler is essential, a smaller one is easier to use when working with small pieces)
-
Aluminum flat bar, for squaring up quilts and marking long quilting lines (optional but oh so helpful for making the Big Tree pattern; I got mine at Home Depot)
-
Cloth tape measure (60" or longer is great if you are working with large quilts)
-
Lead pencils and a sharpener (I find #2 pencils easiest to use)
-
Fabric-marking pencils for both light and dark fabrics, or your preferred quilt marking tool (always review the manufacturers instructions before use)
-
Hera marker – useful for marking temporary quilting lines if you’re quilting a block at a time.
-
Craft scissors (for cutting paper or template materials)
-
Snips or small embroidery scissors (good for cutting threads or small detail work)
-
Pinking shears (optional)
-
Fabric shears
-
Rotary cutter (45mm) and extra blades
-
Rotary cutters in other sizes are optional. Large cutters (60 mm) are designed for cutting through several layers, while small ones (28 mm) are useful for cutting curved pieces.
-
Rotary cutting mat (at least 18" by 24", but try for the the biggest size you can fit on your cutting table)
Making Templates
-
Template plastic or lightweight cardboard (such as a file folder or cereal box)
-
Rubber cement or glue stick
-
Permanent marker (for marking templates)
-
Craft knife (such as an X-acto®), extra blades, and a cork-backed ruler
-
Push pin, awl, or 1/8 inch hole punch
Sewing & Pressing
-
Pins and pincushion (Glass-head quilting pins are ideal because they will not melt under an iron.)
-
Needles designed for a variety of handwork techniques (for the first three I like Clover black Gold needles in size 9 ):
– hand sewing
– hand quilting (with quilting thread)
– needle-turn appliqué
– big-stitch quilting or tying a quilt
– embroidery needles with a sharp point and large eye (I like using sizes 3 -6) -
Sewing machine/ needles
-
Specialized sewing-machine feet (optional but helpful):
– patchwork presser for 1/4" seams
– walking foot for straight-line quilting
– darning or free-motion foot for free-motion quilting -
Threads for a variety of purposes:
– dual-purpose sewing thread for machine sewing
– quilting thread for your preferred method (hand or machine)
– pearl cotton #8, cotton or wool yarn, or embroidery floss for big stitch or tying quilts -
Seam ripper
- Steam iron and spray bottle
-
Ironing board and/or large table-top pressing board (learn how to make one here.
Miscellaneous
-
Needle threader (for hand-sewing)
-
Thimble (for hand-quilting, appliqué, or tying. I like a traditional metal thimble for my bottom hand, and a silicone thimble for my sewing hand.)
-
Quilting hoop or frame (optional – for hand quilting or tying)
-
Painter’s tape (used when basting quilts and as an optional quilt-marking tool)
-
Sequin or appliqué pins about ¾" long (optional – for pinning appliqué motifs)
-
Appliqué glue (I prefer appliqué glue sticks)
-
Basting pins (curved safety pins made specifically for basting, these are optional but helpful)
-
Curved basting needle (optional)
Design Aids
Tools for Working with Color
Color is what makes the most visual impact in a quilt, and often what we respond to first. I typically design a quilt with a color feeling in mind, and then see what I have on hand fabric-wise that will work. I learned a bit of color theory in art school, but don’t actively think about complementary or tertiary colors much when I’m designing quilts. If you feel you need color guidance, a color wheel (available at quilt or art supply stores) is a helpful tool. I like to have swatches of the fabrics I have in my stash to work with, too. It saves hauling out bolts or upsetting tidy stacks, and I can quickly view combinations of colors and fabrics on my design wall.
Value Finder
Also commonly referred to as a "ruby glass", a value finder is a red, acrylic, rectangular tool that helps you identify a fabric’s color value (the relative lightness or darkness of a color) by canceling out hues. A hue refers to the quality that gives a color its name – for instance, blue-green is a hue that is somewhere between blue and green on a color continuum. Value finders can be used to match the value of a print with that of a solid fabric, or if you want to ensure value contrast or similarity in your fabric selection.
Flannel Design Wall
A large piece of white flannel or batting tacked to a wall enables you to quickly and easily arrange and rearrange quilt blocks – no pins needed! – before you sew them together. It’s also great for viewing test cuts of block pattern pieces to help you determine color and fabric choices. If you don’t have a whole wall to dedicate to your quilting, wrap a large piece of foam core or a Homasote panel with flannel instead.
Digital Camera
Getting a sense of the overall design of a large quilt can sometimes be difficult, because to really see it, you need to be able to stand back from it, and most of us don’t have the luxury of a large, dedicated studio that would allow this. For decades, a reducing glass (the reverse of a magnifying glass) was the quilter’s tool of choice to solve this dilemma, but the cell phone camera in your pocket not only does the job of providing perspective in a reduced format, but it also allows you to record various block arrangements so you can instantly view and compare them, or save ideas for later projects. You can also share the images with your quilting friends for feedback on decision making.
Quilt Design Software
There are a variety of computer software programs designed especially for quilters that allow you to select from hundreds of patterns, or design your own. You can then combine and rotate blocks, try out different color combinations (some programs let you scan your own fabric or have swatches from fabric companies built in), calculate yardage, print templates, and make a computer mockup of your quilt, all before you plug in your sewing machine. As a former graphic designer, I’m very comfortable with Adobe Illustrator as a drawing tool, and use it to draw my quilt patterns to scale and try out different color schemes.
Materials
Choosing Fabrics
Perhaps the most important thing is to understand when choosing fabric for a quilt is the effects created by the fabrics you choose to use in your quilts. There are no right or wrong options, but choosing with knowledge and intention can save you from surprising or disappointing results.
In my first book, Denyse Schmidt Quilts, I suggested a ratio of 70% solids to 30% prints for selecting fabrics, based on the quilts I was making at the time, This proportion draws attention to the prints fabrics because they are used sparingly.
Large-scale prints cut into small pieces can “blur” the design or structure of the pattern you’re using. “Busy” prints – ones with many colors and high contrast (like bright colors on a white ground – can amplify this effect. If you want to see more of the structure, try adding a few solids to the mix, or make sure there is more value or color contrast between adjacent pieces.
Small-scale prints and tone-on-tone prints “read” more like a solid fabric from a distance, but have textural interest when viewed up close. I like using yarn-dyed stripes or plaids that add directional interest. Solids can create a more graphic feel, allowing the design of the pattern to dominate, while also providing a canvas for showing off your quilting skills. Using colors that are close in value or hue will soften the overall graphic quality, while contrasting value or color will emphasize it.
I love the restraint employed by the makers of the vintage and antique quilts that inspired me to start quilting. Their color palettes could be very simple, often just two or three colors. This limitation can be hard to adhere to when we have so many options at our fingertips, but the effect can be visually striking. Sometimes these vintage quilts have an oddball fabric addition – my interpretation of these surprising details is that the quilter ran out of the predominant fabric, and substituted from what she had on hand. Whatever the impetus, I love the charm of these unexpected choices.
Fabric Basics
A light- to medium-weight cotton is the fabric of choice for many quilters. It’s easy to work with, and washing and normal wear increase its beauty and softness. But there is no need to be a purist! If you have vintage fabric you love or want to upcycle your 6th grade jumper, use it! Keep in mind that adjustments may need to be made when working with certain fabrics – even a lightweight canvas will be a little harder to hand quilt, and a loose-weave cotton gauze may not hold up over the long term as well as a tighter-weave quilting cotton – but don’t let it stop you from using a fabric if you really love it.
Most yardages in my patterns are based on commercially available quilting cottons, which typically have a usable width of 43-1/2" (after removing the selvage edges). If you have a fabric you wish to use that is wider or narrower, simply alter the yardages in the pattern instructions to accommodate the difference.
Common fabric terminology includes discussion of the right and wrong side of a fabric, and this is necessary to pay attention to in the context of sewing construction. But in terms of which side of the fabric to use, I prefer right and reverse side. While the printed side of a fabric is generally considered the right side, the reverse side can offer a toned-down, softer version of the print that may appeal to you more. The reverse of a plain-weave solid is pretty much the same as the right side, and a twill weave or similar solid can be used on either side.
Preparing for Use
There are two schools of thought when it comes to whether to prewash your fabrics for quilting. Some quilters lay it down as the law; others prefer to work with un-washed cottons because the sizing (or finish) added to fabrics during manufacturing keeps the fabric smooth and crisp, making laying out and cutting easier. Historically the reasons for pre-washing included worries about colorfastness and shrinkage, but this is generally not an issue with today’s good-quality commercial cottons. If in doubt, do a test and adjust your yardages if necessary.
The decision to prewash or not is up to you. Not having to wash and press your fabric before cutting will obviously save you time, and your finished quilt will shrink a little in the wash, which lends it an instant heirloom patina.
If you decide to wash your fabrics first, trim the cut edges with pinking shears first to prevent fraying, and press your fabric while it is still slightly damp. If you are working with vintage fabric or have any concerns about bleeding, play it safe and wash first.
Using a color-catcher in your wash is always a smart choice with any finished quilt.
Fabric Grain
Fabric grain refers to the direction of the threads in a fabric’s weave. The warp threads that run the length of the fabric, parallel to the selvage edges, are the lengthwise grain. The weft threads that run the width of the fabric (WOF), perpendicular to the selvage, are the crosswise grain. Both lengthwise and crosswise grains are considered straight grain, which has little give or stretch. Fabric pieces cut on the straight grain keep their shape throughout the patchwork process.
True bias refers to a 45-degree angle from straight grain and has the most amount of give or stretch, though any degree off of straight grain is prone to some stretching. Bias makes it possible to sew curved fabric pieces with a smooth seam, but bias edges require more care when cutting, sewing, and pressing to prevent your quilt blocks from distorting too much.

Thread
I’ve always used cotton-wrapped poly thread, which is strong and durable, for machine sewing. Some quilters like to match their thread content with their fabric content. Whatever thread content you choose, it’s important to have thread for general machine sewing and thread for hand sewing. Hand-sewing thread is treated so it’s less likely to twist and knot while you are quilting or appliquéing by hand. For piecing, I prefer to use a neutral thread color, either light or dark, to generally match a quilt’s overall tone. For needle-turn appliqué, a fine polyester thread is strong and nearly invisible. Match the thread color to the motif fabric (the piece being appliquéd), not the background.
Batting
Today’s batting is available in several different weights, types, and colors and is sold on a roll by the yard, or prepackaged in standard bed-sized pieces. Batting can be made from cotton, wool, polyester, silk, bamboo, and even recycled plastic soda bottles. Your batting choice depends on the look you want, the color of your quilt top, and your method of quilting. You can also use a blanket, sheet, or piece of flannel for the middle layer if you like.
I prefer to use a thin, or low-loft cotton batting (typically Quilter's Dream cotton batting in "request" or "select" weights. It’s easy to needle (stitch through) if you’re hand-quilting, and the finished quilt has a flatter, more old-fashioned look. For tied quilts, I like a medium- or high-loft batting.
Select bleached batting for quilts with white backgrounds and unbleached (or natural) batting for darker quilts. Try dyed wool or black polyester batting for quilts with dark backgrounds to minimize contrast-color “bearding”, or batting fibers migrating through the fabric. Don’t prewash your batting: the small amount of shrinkage adds to the vintage charm of your quilt.